Everything you need to know about hiking Mount Sibayak, including how to get to the start point, registering for the hike, what to wear, and what to expect from the adventure.
Volcanoes have always fascinated us and, if we’re completely honest, slightly scared us too. There are few other places on Earth where you can so clearly appreciate the full force of Mother Nature, with smouldering surfaces, steaming fumaroles and a sense of a constantly changing landscape.
When you’re travelling with kids, this fragile and combustible environment might not immediately seem the best place to visit, but do remember that each volcano is different. Some are extremely active, out of bounds and unsafe to visit, while others have been extinct for so long that the tension and sense of adventure has diminished. What we needed was a dormant but geologically active volcano, and we found just the right one on our visit to Sumatra.
The trek to the crater of Mount Sibayak turned into one of those family travel moments that we know we’ll remember for ever and a day and was certainly a highlight of our time in Sumatra with kids. With just the right combination of difficulty, adventure and beauty, it definitely ranks among our favourite family hikes (if you’ve been following us for a while, you’ll know that’s quite the accolade).


Disclaimer: This post contains affiliate links. If you click to purchase, it is at no additional cost to you, and I receive a small commission.
Is it worth hiking for sunrise?
Although many guidebooks, hostel owners and fellow travellers will recommend starting your trek at 4.00am to see the sunrise from the crater, we personally don’t think it’s worthwhile if you’re here with kids.
Although there’s no doubt sunrise can be beautiful at the summit, it’s by no means guaranteed that you’ll get a clear view, and the repercussions for the rest of the day, when everyone is tired and cranky, could be a problem. Perhaps more importantly, the trail isn’t the easiest to follow in the dark, and the slippery rocks are even more challenging in limited light after limited sleep.
Instead, we’d suggest aiming for a 8.30am departure from your accommodation after a filling breakfast, giving you plenty of time to pack your bag and get sorted. You’ll still be completing the majority of the walk in cooler conditions and the views on the top are always worth the effort, whatever the time of day. You may also notice the trail is slightly quieter and there are fewer other people once you reach the crater.
Do you need a guide?
You might experience some gentle pressure from concerned hotel owners to book the services of a guide, but it’s really not necessary. The vast majority of the route is obvious and simple to follow, and there aren’t too many places you can go wrong.
Do take your time though, stick to the paths and let your kids know of the dangers if they went running off on their own. As with most other hiking trails around the world above 2,000m, people have got into difficulty here in the past, so do remember this isn’t just a stroll in the park.
Some families prefer the peace of mind in having a guide though. If this is you, it’s usually easiest to arrange it all via your accommodation. You should expect to pay around IDR 500,000 for the guide (plus another IDR 500,000 if you want to include transport and a visit to a temple afterwards).
With or without a guide, everyone needs to register at a hut about 1km along the trail (IDR 20,000 per person, same price for kids).

What to wear and pack
Berastagi is 1,300m above sea level and it’s a further 900m to reach the crater, so the temperature can vary significantly during your hike.
First things first, make sure you have suitable footwear, even though some locals will surge past you in sandals or flip-flops. Good quality running trainers are absolutely fine, there isn’t any need for heavy hiking boots. The trail is usually muddy in places, so make sure it’s a pair you don’t mind getting wet and dirty.
At the beginning of the trek it’s likely to be quite warm, so you’re best in t-shirts and walking trousers (or shorts if the kids prefer). As you climb higher, the temperature does drop and it gets quite chilly at the crater if the clouds have rolled in. Layers (as always) are best, and it’s nice to slip on a jumper or lightweight jacket at this point.
If you have them in your kit, a poncho is a good idea as rainfall isn’t uncommon. For those of you with dodgy knees, or those who just prefer a helping hand on downhill sections, a walking pole helps navigate the uneven paths.
At the checkpoint (where you pay fees), you can purchase water and simple snacks, so there’s no need to overload yourself with too much water, but do bring enough for the first forty minutes of the walk, plus some snacks for the kids are always handy in case of low points.
Getting to the starting point
In some ways, finding out up-to-date information about the start point was the hardest part of the day, so hopefully we can help clarify things slightly.
The standard advice/approach (which we don’t recommend if you’re hiking with kids) is to take a minivan (IDR 10,000 person) from the main road in Berastagi and ask to be dropped off at Simpang Gunung (which translates as Mountain Junction). From here, you follow the road on foot to the starting-point proper, which is around 5km away (all on tarmac but it does add a significant distance to your day and it’s not the prettiest section). Alternatively, you should be able to arrange another minivan from the junction to take you higher up, but the fare will be more expensive. Your accommodation host will be able to help you with which bus to get as the different colours determine where they go.

However, our advice would be try and arrange for a minivan to take you all the way to the start point from the town centre. We were fortunate to flag down a minivan that was heading all the way up to the top from the main road in Berastagi (and paid IDR 25,000 per person), but we get the impression this was a lucky break. It might be easier to arrange this via your accommodation.

The route up Mount Sibayak
From the main start point, it’s a 3.5km uphill trek to the crater.
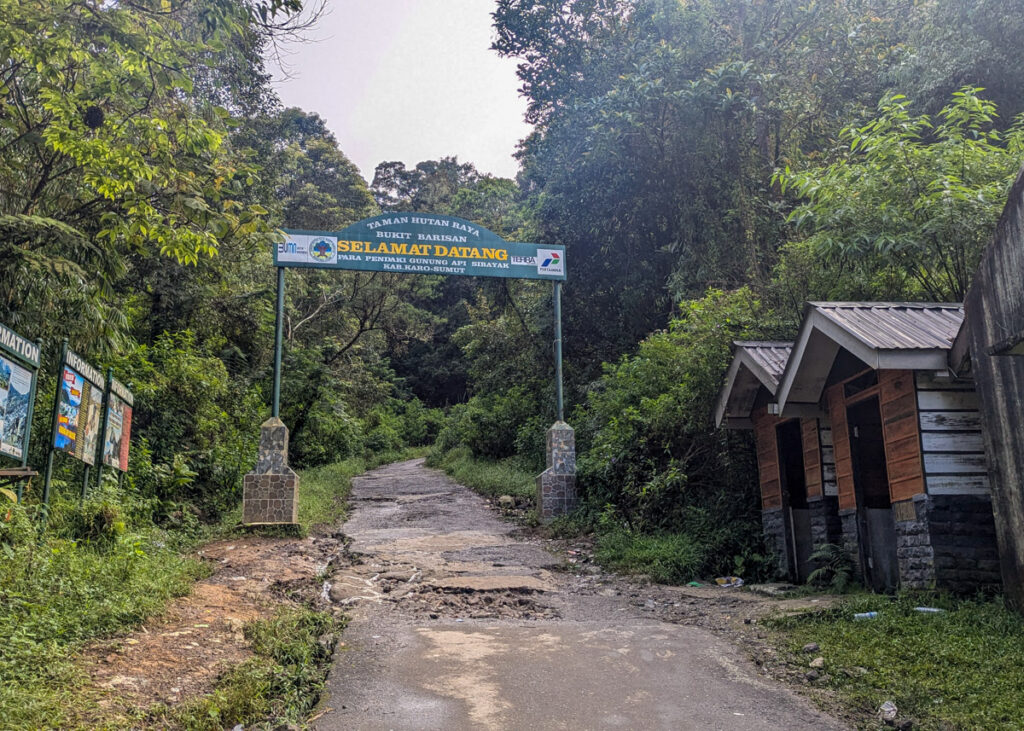
About 1km in, after a steady walk uphill along a deteriorating tarmac road, you’ll reach the registration hut. This is a fairly unofficial looking place where you sign a logbook, pay your IDR 10,000 fee and pick up any last minute supplies (water, snacks).


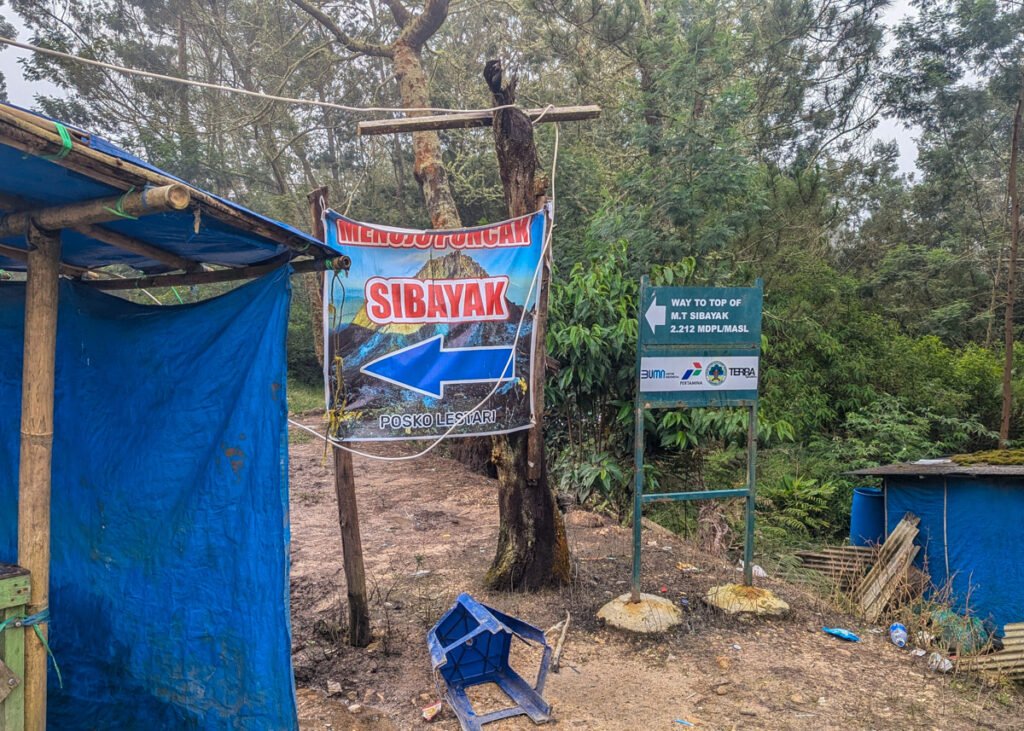
Take a left and follow the signs to continue hiking Mount Sibayak. From this point, the path can be muddy in places, with some steep sections but overall, it’s a gradual and manageable ascent. You’ll know you’re nearing the crater when you smell the sulphur!
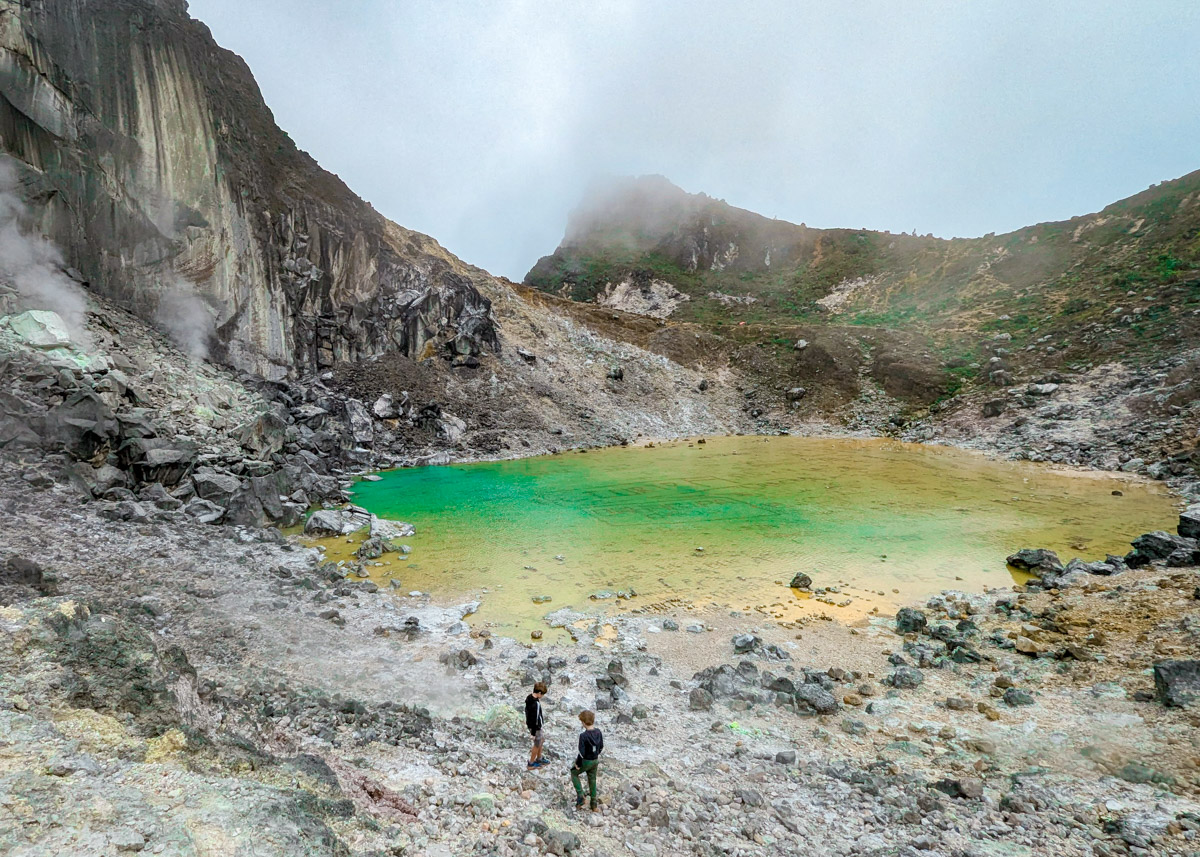
The view at the crater is incredible, especially on clearer days when you can see across to Mount Sinabung. Neon-yellow fumaroles hiss and steam around you, creating a dramatic, almost otherworldly landscape. You can also walk down to the crater lake, where it’s become a bit of a tradition to write your name using rocks in the water.

Follow the same route back down to the registration hut (remember to sign out) and continue downhill to the start point. You may find minivans waiting here with offers of lifts back down to Berastagi or to the hot springs. Your bargaining power is limited at this point, but you should expect to pay around IDR 100,000 for the whole vehicle. Otherwise, it’s the 5km downhill walk to Mountain Junction, from where you can jump into a public minivan and pay IDR 10,000 to get back into town.
Allow four hours to complete the entire trek, up and down, including time at the crater.
Where to stay in Berastagi
WHERE WE STAYED: Berastagi Mountain View Homestay & Pizzeria
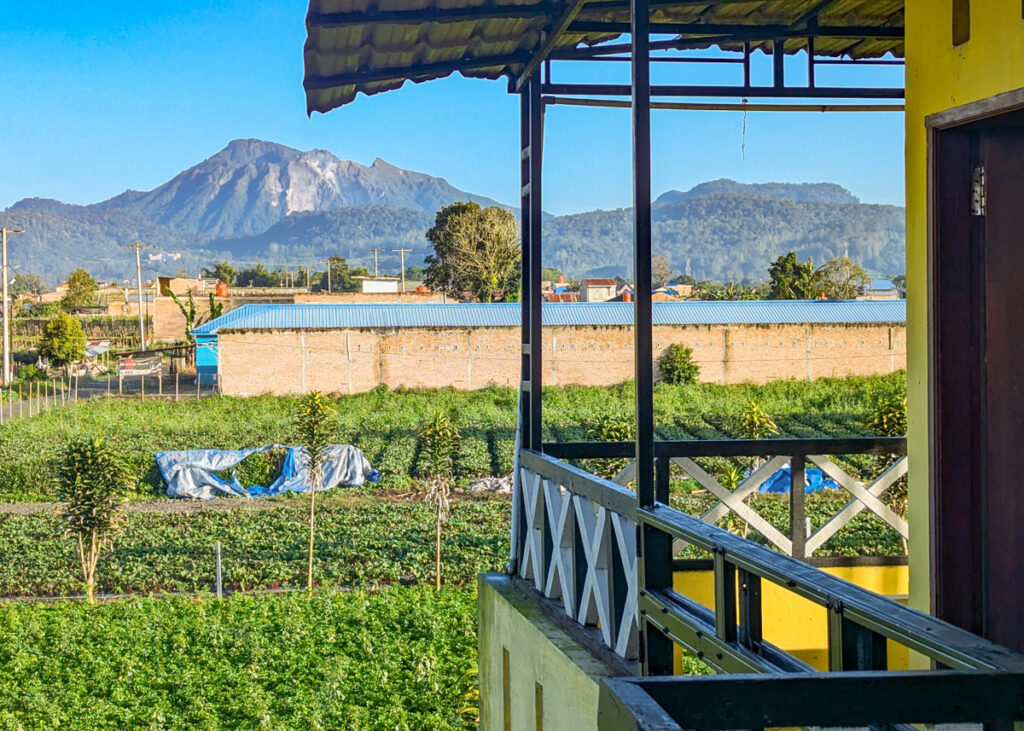
Berastagi is one of those places where it makes sense to stay slightly out of the town centre. The main road running through town is loud and congested, with not much to recommend it to travelling families. You’re much better off staying a few minutes outside town, where the countryside views are unobscured and it’s much quieter (although this being Indonesia, there’s nearly always a loud scooter buzzing nearby).
Berastagi Mountain View Homestay & Pizzeria was an ideal place to stay, especially as we had adjacent double rooms (numbers 7 and 8) which had their own private balcony/terrace area, where we could enjoy breakfast and dinner, with 360 degree views of the surrounding countryside including Mount Sibayak and Mount Sinabung.

The owner, Andy, and his family are wonderful hosts and serve tasty food including pizzas.
We found the rooms comfortable, ideal to retreat to after the hikes, with hot showers, strong wifi and cold beers available. They can also arrange local tours, guides and onwards transport to Medan or Bukit Lawang (where we very much recommend signing up to a 2D/1N jungle trek).


What else is there to do in Berastagi
After the hike, you might want to soak in the hot springs, located 5km from the start of the trail. You can walk there or catch one of the minivans that are usually waiting for tourists.
However, be aware that the hot springs are mostly communal (some offer a ‘VIP’ experience, but manage your expectations) and not the cleanest (there’s no obvious filtration system and no-one showers before getting in). Changing rooms are also of variable quality, with limited space or facilities.

Final thoughts on hiking Mount Sibayak
There are some family adventures that belong in the top division and there’s no question that hiking up to a dormant (but still very much alive) volcano deserves its place. We’ll never forget the moment we scrambled over the rocks and peered down into the crater lake, with angry gases escaping loudly nearby and clouds swirling around the perimeter.
Despite all this wildness, the hike itself is very manageable, especially if you can organise a ride straight to the starting point from Berastagi. After only a few hours, you’ll be back at your hotel sipping a beer, looking back across to the volcano with a feeling of wonder, achievement and delight. Just don’t let the kids watch Dante’s Peak beforehand.

You may also like to read:
Sumatra with kids travel guide
2D/1N Bukit Lawang family jungle trek with Green Hill
Malaysia with kids travel guide